 Once upon a time, having to iron a shirt was an inevitable part of laundry day. After washing, starching and line drying the clothes they would be sprinkled with water and ironed one item at a time until they could all be put away. With the advent of polyester and permanent press, ironing became a lost art through the 1990’s and early 2000’s. However, the popularity of natural fabrics has reintroduced the world to their ironing boards as people seek to appear polished in their appearance. The question then becomes, what is the proper method for ironing a shirt? We caught up with the guys over at Iron-A-Way Who gave us their indispensable step by step instructions!
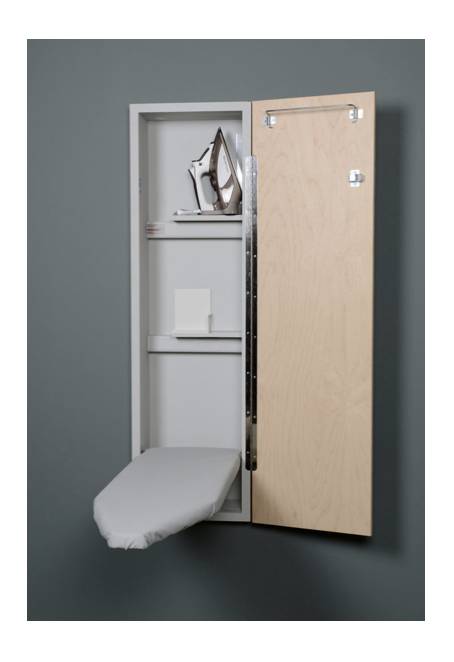
- Set up your ironing board and plug in your iron. There is no sound more grating than that of traditional ironing boards. Fortunately, in-wall models not only hide away when they are not in use, but they also do not make that annoying screeching sound when you set them up. Some even come with built-in electrical outlets for irons that shut off after a certain amount of time. Leaving the iron on for hours, burning down your house is no longer a risk with these state-of-the-art inventions.
- Spray parts of the shirt with water. A spray bottle from the supermarket is the perfect tool for this. Spray it all over to dampen it and let it sit for a minute. You may need to reapply the water as it dries to get rid of particularly stubborn wrinkles. Some irons are equipped with optional steam while others have a built-in spray feature. Be sure to use only distilled water in these irons to keep hard water from building up on the appliance.
- Iron the sleeves and cuffs. Cuffs will need to be unbuttoned, and the iron should travel around the buttons, never over them. Iron the inside of the cuff than the outside. Then, line up the bottom seam of the sleeve and move the iron from the bottom seam to the top to get a crisp crease in the top of the sleeve. Flip the shirt over and follow the same procedure for the back of the sleeve then repeat with the other sleeve.

- Iron the yoke. The yoke of a shirt is the top part of the shoulders that form a triangle. Slip one sleeve over the narrowest part of the ironing board and press the yolk flat, repeating with the opposite side.
- Pop that collar. Once you have popped the collar, iron the collar underside flat from tip to tip. Repeat with the top that is seen.
- Time for the front. With the shirt opened, lay one the side with buttons on the ironing board. Move the iron from the top of the shirt to the bottom along the entire front, taking care to move the iron between the buttons but never over them. Repeat with the side that does not have buttons, taking especial care to ensure the row of buttonholes is flat.
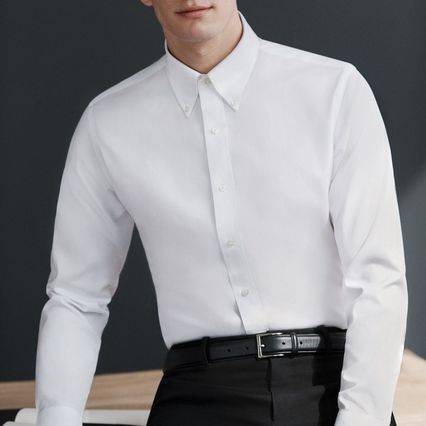
- Finish the back. With the shirt laying open on the ironing board, make sure any wrinkles in the back of the shirt are gone. At this point, hang up the shirt or put it on your body and enjoy looking polished and put together.
There you have it folks, it’s that simple.
